Friday, April 20, 2018

Strawberries & Cream Makeup Tutorial

Happy Friday, everyone! We survived another week. And there's no better way to kick off the weekend than with a colorful makeup tutorial. Ever since I bought the Colourpop Give It To Me Straight palette I've been using it non-stop. It offers everything a warm-toned girl could ask for - berry-toned mattes and gorgeous shimmers. 

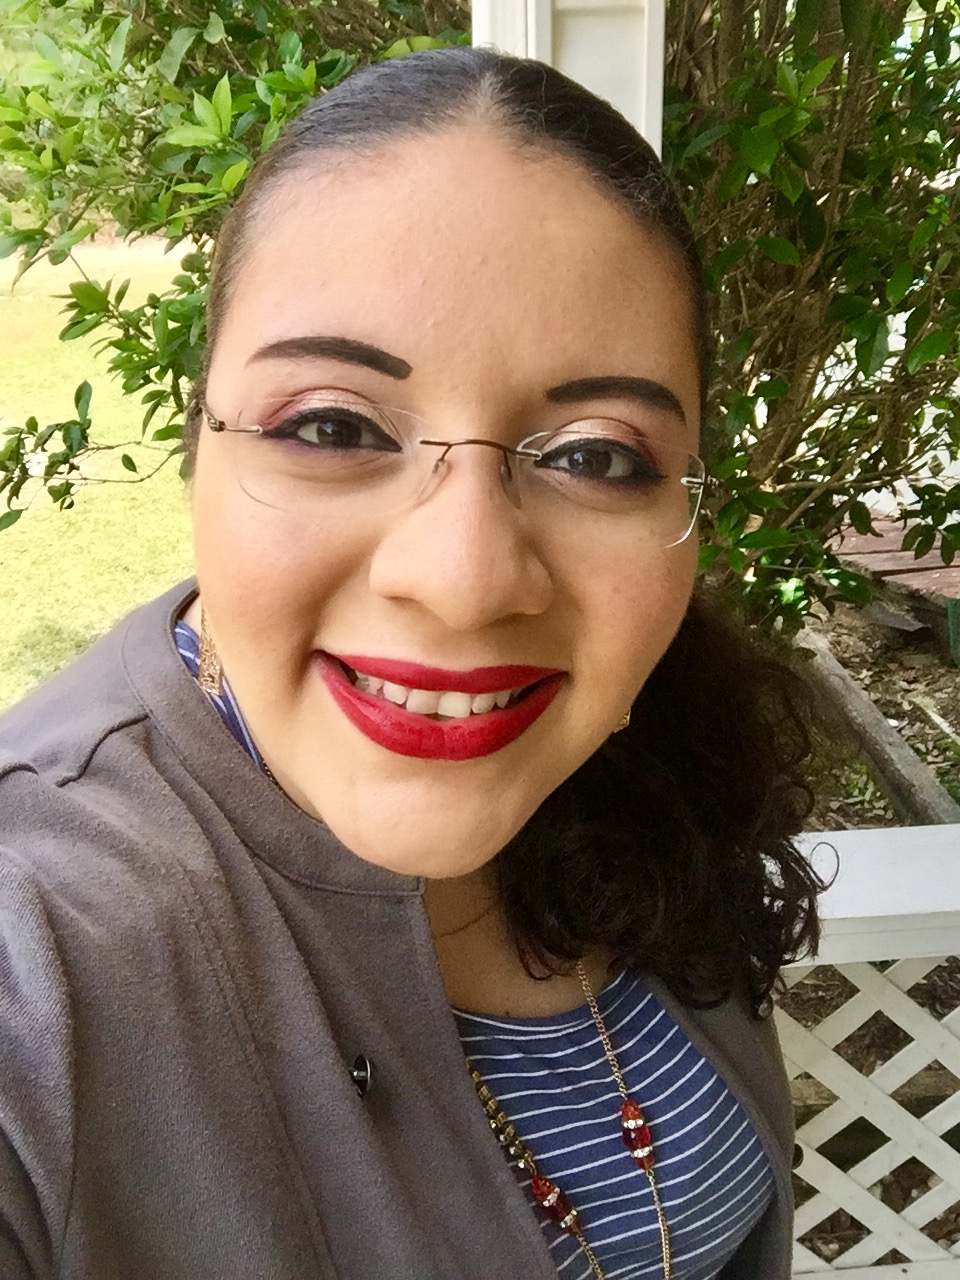
Well, one day while I was playing with the palette I created this look right here and I knew that I had to share with all of you.


I call this look "Strawberries & Cream" because the way the lighter shadows seamlessly blended into the darker shades reminded me of a big bowl of strawberries and Cool Whip. With a few easy steps you can recreate this look in no time. So if that's something you're interested in just keep on reading >>>>
 
Step 1 - Using a Sigma E40 brush I blended the color Downright into the crease. I loved this color because it's easy to blend and build up color, making it the perfect transition shade.
 

Step 2 - With the same brush take Truth Hurts and BS and layer both colors into the crease to darken it and give the lid some dimension. Then using a Morphe M433 brush blend TMI into the outer corner and inner part of the crease. I also used a mix of Truth Hurts and Downright to blend out the edges. Because no one wants harsh lines.


Step 3 - Switching to a Morphe E18 brush, pack the color Be Blunt into the outer corner to give the lid some depth and then blend that same color in toward the middle of the lid. This is the first step in blending the darker colors with the lighter ones. 


Step 4 - With a flat, stiff brush (like the MAC 239 or a Crown C224 Oval Concealer) cover the lid with a light concealer. Any concealer will do - drugstore or high end - just pack half of the lid with it to use it as a base for the lighter color. Then with the same brush pack the color Up Front on top of the concealer and blend it into the darker shade Be Blunt.


Step 5 - With the same flat, stiff brush lightly pat a mix of Forthright and Straight Up in the center of the lid. These two colors act as a bridge between the lighter and darker colors. 


Step 6 - Switching to a pencil brush - like the Morphe E36 - smoke out the lower lash line with the colors Actually, TMI, and Be Blunt. You're basically putting the darker colors from the outer crease onto your lower lash line. This gives the eyes definition and can actually make them look bigger. 


Step 7 - Then take a dome-shaped brush - like the Makeup Geek Outer V Brush - and apply the shade Matter of Fact to the inner corner and to highlight the brow bone. Matter of Fact is a matte, white shade that's perfect for highlighting. For the final step use your favorite eye liner brush - mine is the Morphe M160-1/16 - and give yourself a wing using your favorite gel liner and line your waterline. My personal go-to is the L'Oreal Infallible Gel Lacquer Liner in Blackest Black. Then apply two coats of your favorite mascara and that's it. 

  
This look is perfect for spring and summer because even though it's colorful it's still wearable. You can wear it to on a date, to a job interview, to work, or even just for a casual weekend look. If you recreate this look Tweet me a picture with the hashtag #StrawberriesCream. I'd love to see your take on this look.

And that's all for now. Until next time my lovelies . . . 

Happy Weekend!

XOXO,

Nellie 
SHARE:

Wednesday, March 14, 2018

Rose Gold Makeup Look


Hello everybody and welcome to today's post. I've always loved gold things - from jewelry to makeup looks to clothing - but for the last few weeks I've been really digging all things rose gold.

I bought a new eye shadow product at Ulta a while back to try out - one of the Stila Magnificent Metals Glitter & Glow Liquid Eye Shadow in Rose Gold Retro - and that's when I got inspired to do this makeup look. There's just something about rose gold things. I'm not sure why but I find them to be more feminine and sweet and if you agree and want to find out how to get this look right here >>>>> 

Just keep on reading. 
 

For this look I used my trusty (and well-loved and well-used) Jaclyn Hill palette and a Makeup Geek foiled shadow called Grandstand.

Step 1 - With a Sigma E35 brush I blended Silk Creme & MFEO into the crease. I always love to use these two colors for my transition shades because they're light enough to work as the transition shade and creamy enough for the other shadows to layer nicely on top of them. Laying a transition color down first is a must for any eye look. It makes any other colors you apply later blend smoothly. 
 

Step 2 - With the same brush I also blended a mix of Butter, Pooter, and Pukey into the crease to add a little bit of depth. 


Step 3 -Then switching to a Morphe M433 brush I added a darker color called Buns into my outer V and blended slightly into the crease. The key to this eye look is to gradually build and blend the darker colors with the lighter colors. Doing this helps the look seem a bit more natural instead of a smokey eye gone horribly wrong.

Step 4 - To add even more depth and darkness, I then applied a mix of 24/7, Chip, and Central Park from the palette to my outer V and crease with the same Morphe brush. Then with a flat shader brush from E.L.F. I packed the Makeup Geek Grandstand all over the lid. 

Honestly, if you wanted the look to be more natural you could stop here, apply some mascara, and call it a day. But I love sparkly things so I just had to keep going.

Step 5 - You never want harsh lines with any eye look. So, with that in mind, I used a Sigma E35 brush, packed it with Silk Creme and MFEO (those lovely transition colors again) and gently blended out the edges in my crease and around the outer V. Taking the time to do this step instantly softens the look.

Step 6 - Switching to the Makeup Geek Outer V brush, I then applied a mix of the first two shadows in the palette - Beam and Enlight - to my brow bone and inner corner for a highlight.

 
Step 7 - Because I later applied glitter to the lid I knew if I didn't add some shadows to my lower lash line the look would start to get "top heavy." So with a Morphe E36, I added a mix of the same colors I applied to the outer V - 24/7, Chip, Central Park - to my lower lash line to smoke it out some. I love using the Morphe E36 to apply color to my lower lash line because the tip of the brush is so tiny and the bristles are so soft I never have to worry about scratching my eye. Which trust me, with the wrong brush that can definitely happen.

 
Step 8 -Now it was time for the rose gold bling! Because the Stila Magnificent Metals have a liquid-y texture I didn't use a brush to apply it. Instead, I stuck with the doe-tipped brush that was built into the cap and lightly packed the glitter onto my lid. When using this kind of glitter I suggest applying it with a lighter hand and then building the product up. These little babies pack a punch of glitter and color and can quickly make a mess if you're not careful. 

Sigh. Look at that rose gold shine. Can we just take a moment? :-)

Step 9 - Then to top off the look (and after the glitter had dried) I drew a wing with my favorite angled liner brush, the Morphe M160 1/16 brush, and my favorite gel liner, the L'Oreal Infallible Gel Liner in Blackest Black. I also dipped my L'Oreal Silkissime Pencil Liner in the gel liner and lined my waterline.


The Finished Look


So that's the finished look. I hoped you all enjoyed this post and if you've ever done a look with one of the Stila Magnificent Metals Liquid Glitters let me know in the comments or send me a pic on Twitter. I'd love to see them. 

Until next time . . .

XOXO,

Nellie 

P. S. In case you were wondering the liquid lipstick I was wearing in the pictures, it was the Kat Von D Everlasting Liquid Lipstick in the shade Double Dare


SHARE:

Tuesday, March 6, 2018

My Everyday Makeup Look


Hello, everyone, and welcome to today's post. I don't know about you but I really enjoy reading (or watching on YouTube) a blogger/vlogger's Every Day Makeup Look. I guess it's because I love to see what kind of beauty products they use and whether or not they're doing a look I'd like to recreate. And while I'm not sure if anyone would want to recreate my every day makeup look, I thought I would share it anyway.

The products featured in this post are the ones I've been reaching for lately. You'll see that when it comes to my every day the products I use range from drugstore to high end products. Honestly, it doesn't matter to me how much a makeup product costs because I've found that some affordable products that work just as good (and sometimes better) as high end products. Check out my 2nd blog, Drugstore Gems, to see detailed reviews of my favorite drugstore products.

But for now, let's jump in >>>>>


I thought I'd go over the products I used in the order I actually used them.

PRIMER

For me, I always start my makeup routine by priming my face. I forgot to include the primer I used in the pictures but the one I've been grabbing for the last few months is the Smashbox Photo Finish Foundation Primer Pore Minimizing. I used this stuff for my wedding (see My Wedding Makeup post here) and I became addicted to it. I like it leaves my skin baby soft, which helps my foundation to glide on seamlessly.

FOUNDATION

After my face is primed I apply my Urban Decay All Nighter Liquid Foundation with my Sigma F80 Flat Kabuki brush. I love using the Sigma F80 brush for my foundation because the bristles are really soft and it helps to buff the foundation smoothly into my skin. I wear number 4.0 in the All Nighter foundation.

CONCEALER

Then I use my Maybelline Fit Me Concealer in the color Sand to highlight under my eyes, around my nose, between my eyes, above my top lip, and on my chin. Then I use a damp beauty sponge I got from Amazon to blend it out. Watching Jaclyn Hill's videos taught me the importance of blending my concealer out with a damp beauty sponge. Seriously, it will change the way your face looks and how your concealer holds up through the day.


POWDER

After all the liquids are put in place I set it with my beauty sponge and my Maybelline Dream Wonder Powder. For a drugstore powder it is pretty amazing. It's a pressed powder but it's super soft and it blends like a dream. I use the shade Nude and I can honestly, it's my go-to powder at the drugstore.

BRONZER

After everything is set then it's time for bronzer. I've recently fallen in love with the Benefit Hoola Bronzer. This stuff is the best bronzer I've used so far. It blends beautifully and it sits nicely on the skin. It doesn't look orange on the face or streaky because it has a more tan look that makes your contour look very natural. I blend this in the hollows of my cheek with the Morphe R10 Deluxe Tapered Powder brush and then it's time for blush.

BLUSH

I don't know what it is about blush but it's one of my favorite things to put on. To me, the wrong shade of blush can completely wreck your look but when you find the right shade - the shade that enhances your features - it can take your look to the next level. I used to have an Ipsy subscription and in one of my monthly packages I received the Doll 10 HydraGel Cream Blush in the color Flirt. Well, as it turned out this was the perfect color for me because it didn't make me look like I had a rash. Instead, it blended in nicely and didn't fade as the day wore on. Since it was a cream blush I applied it with my fingers, blending it into the apples of my cheeks. I find that cream blushes tend to give my face a more natural look than powder blushes.


Then after the blush it was time for my favorite part - highlighter.

HIGHLIGHTER

My favorite highlighter is another product I used in my wedding that I completely fell in love with - Becca Shimmering Skin Perfector Powder in Champagne Pop. In my opinion this is the best highlighter on the market. Yes, there are countless good-quality highlighters out there from different brands but to me, Champagne Pop will always hold a special place in my heart because I wore it on my wedding day. Plus, it has a soft, slight gold-y peach, shimmer effect to it that looks amazing on tan to medium complexions. And I know that a lot of people don't wear highlighter every day but for me it's an every day staple.


Now on to my favorite part of my every day look - the eyes. 


They say the eyes are the window to the soul. Well, I believe that they should be the most beautiful windows in the world. First off I start off by priming my lids with the NYX Eyeshadow Base in Nude. Then I fill in my brows with my trusty Anastasia Beverly Hills Brow Wiz in Dark Brown. This is my favorite brow pencil because the tip is really small and you can create the most life-like brows with it. When the brows are done, I use the Maybelline Brow Drama Sculpting Brow Mascara to set them in place. This stuff works well in keeping unruly place in check without feeling like hardened glue on your face.


Then it's time for the eye shadow. If you saw my post My New Favorite Palette: Anastasia Beverly Hills Modern Renaissance then you know how deep my love for this palette runs. Seriously, I can't remember my life before this palette came into to it. The Modern Renasissance palette is one of the best eye shadow palettes on the market and for good reason. The color selection is on-point and the shadows are very pigmented yet very blendable and buttery. And while there are some pinky/cranberry shades in the palette that I adore, I tend to steer towards the neutrals and browns for my every day look.

If any of you'd like me to do a tutorial of my every day look just let me know in the comments. That way I can show you guys exactly which colors I use from the palette and which brushes I use to apply them.

But anyway, after the eye shadow's done I apply liquid liner - the Revlon ColorStay Skinny Liner  in Black Out to my upper lid and the NYX Wonder Pencil to my waterline to brighten up the look. Then I apply my favorite mascara at the moment to top of the look - the L'oreal Voluminous Lash Paradise Mascara in Blackest Black and move on to the lips.


While there are plenty of amazing lip products out there for my every day look I tend to stick to what the drugstore has to offer. I apply some lip balm to moisturize my lips, then swipe on my Rimmel Moisture Renew Lipstick in Let's Get Naked. I really like this color because it's a nice nude-y pink that doesn't bleed or flake off. Then, for good measure, I add NYX's Butter Gloss in Crème Brulee for a little shine.

Then I my face with the L'oreal Infalliable Makeup Extender Setting Spray and I'm ready to go.


So what are your favorite products to use for your every day look? Let me know in the comments.

Until next time . . .

XOXO,

Nellie 


SHARE:

Friday, February 23, 2018

My Go-To Weekend Look


Hello everyone and welcome to today's post. For me the weekend is my time to run some errands I didn't get to in the week. It's also a time for me to catch my breath from the week and relax some. I tend to lean for a more casual outfit - jeans, t-shirt, and sneakers - and slow down my normally hectic pace.

And when it comes to my makeup I stick to the basics - foundation, concealer, powder, etc. But when it comes to my eye look I've found myself reaching for my *Too Faced Sweet Peach Palette and doing one of the easiest eye shadow looks I've ever done. Honestly, I only use 5 shadows, some gel liner, a little mascara and I'm out the door.


So if you're interested in seeing My Go-To Weekend Look just keep on reading >>>>

All links in the post that are marked with a "*" are affiliate links, which mean I get a percentage of the revenue made from any products that are purchased through this link


On the weekend I'm all about products that will control shine and give me a matte finish that lasts all day. Which is why after I've cleansed and moisturized my face I prime my face with the *L'Oreal Matte Lock Primer. Then I blend the *L'Oreal Pro Matte Foundation all over my face with my *Sigma F80 brush. I love using this brush for my foundation because it has a flat top with dense, soft fibers that makes even the thickest foundation blend like a dream. And who doesn't want that?

For concealer I use my trusty *Maybelline Fit Me Concealer and I put in the usual places - under my eyes, down the bridge of my nose, on my chin and forehead. Then I set everything with my *Maybelline Fit Me Loose Finishing Powder. I have been loving this powder recently because it has a nice finish and it holds up through the day really well. 

Then it's time for one of my favorite combos - bronzer and blush. For bronzer and blush I'm still sticking with my current favorites, the Benefit Hoola Bronzer and the Doll 10 Hydragel Cream Blush. I swear by these two products because both the Hoola Bronzer and the Doll 10 Cream Blush give a natural, long-wearing look to the face. While I do apply the bronzer with a brush, I stick to what God gave me and use my finger tips to blend the blush into the apples of my cheeks.

Once all of this has been laid down then the face is done and it's time for the eyes.  


As I said earlier this is the one of the easiest eye looks I've ever done and I love doing it when I'm in a hurry because it takes about 5 minutes to do. If you're interested in recreating my Weekend Makeup Look just keep reading >>>>

These are the products I used:  


Step 1 - After you've primed your lid with your favorite primer take a flat, stiff brush (like the *Mac 239) and sweep Caramelized all over your lid.


Step 2 - Then with a blending brush (such as the *Sigma E25) lightly blend a mix of Puree and Summer Yum into the crease and outer V of the eye. These two colors are perfect to use for transition shades as well as blending out any harsh lines. Because, girl, the last thing you need is harsh lines.


Step 3 - Finally, with a domed-shaped brush (like the *Makeup Geek Outer V brush) apply White Peach above the crease under the brow bone. Doing this will instantly highlight your brow and help to soften your transition shades even more. Basically, you're applying the colors from darkest to lightest. For the last shadow, use your ring finger and lightly pat Luscious over the lid. This gives the lid a little bit of shine. Then add your favorite gel liner, some mascara, and you're good to go.

HERE'S THE FINISHED LOOK >>>>>


And that's all for now, my lovelies. Until next time . . .

XOXO,

Nellie

SHARE:

My Go-To Weekend Look

Hello everyone and welcome to today's post. For me the weekend is my time to run some errands I didn't get to in the week. It...

MINIMAL BLOGGER TEMPLATES BY pipdig